How to choose a product configurator: 3D, 2D, or 360° view

Thinking of product configurators, the first thought is usually about 3D models. Yet, product configuration goes far beyond 3D modeling exclusively. In some cases, 3D configurator may not be the best option for your business and there are alternatives. We’ll explore the ways of product customization in online stores and explain the differences, benefits, and caveats of each option.
What’s a product configurator
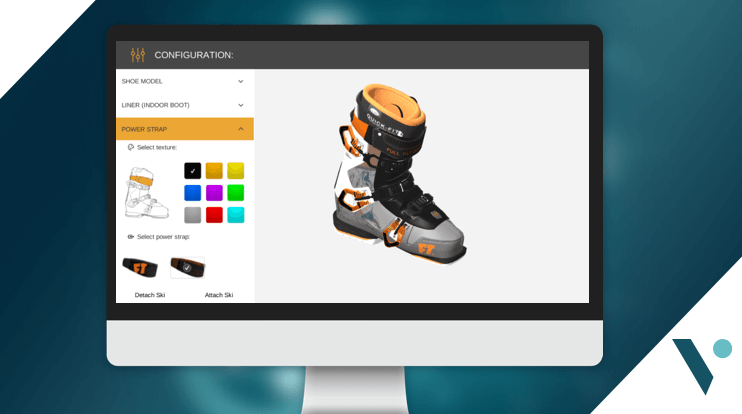
A product configurator is a tool that shows a product image or model which users can customize based on available options: change color, size, materials, add or remove components, etc. The configurator instantly shows the view and price of the final product with the chosen specs.
Let’s say, you have a furniture store, offering dozens of items with hundreds of variations: different product looks, configurations, sizes, materials, and more. On the one hand, having a physical sample for each product variation is not reasonable. On the other hand, it’s crucial for the customer to see their very version of the product before buying it.
That’s where configurators take into play: creating virtual product models allows visualizing as many product variations as needed. This is true for furniture, sports equipment, jewelry, custom clothes, shoes, and other products.
Types of product configurators
There are 3 types of online product configurators:
- 3D configurator
- 2D configurator
- 360° view configurator
These tools differ in complexity, price, capabilities, time and resources required for creation, etc. We’ll review some use cases for each configurator type and highlight both benefits and limitations.
3D configurator
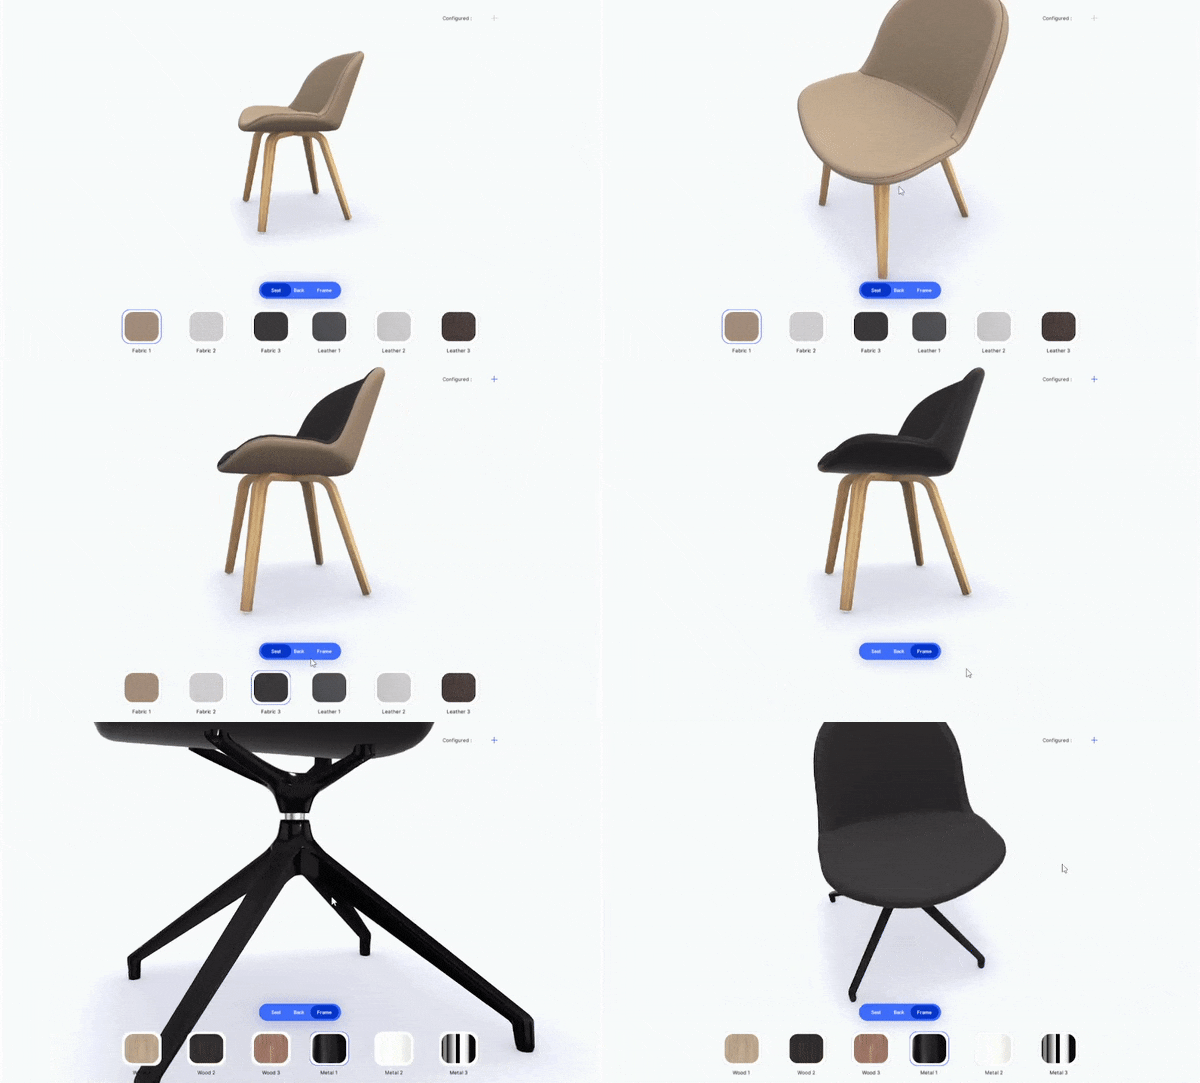
This type of configurator uses the 3-dimensional product models, created by a 3D designer. The features of the 3D configurator include showing the entire product from any angle or perspective, zooming in and out, adding animation of disassembling and assembling. The 3D configurator allows for the most realistic product experience.

Andriy, CG artist, team lead at Vakoms:
“To create a 3D configurator, we ask the client to provide the full list of product specifications — components, sizes, materials, colors, and all possible combinations of these. Then we use this data to create 3D models in Blender or 3ds Max. In Unity, we add the possibility to calculate the price of the custom product.
A 3D configurator allows for the most true-to-life experience of the product.
The interaction is similar to the one with the real object: you can rotate it by 360 degrees, zoom in to have a closer look at smaller details or components, disassemble and assemble the object. With a 3D model, you can do pretty much the same as with the real object.
3D looks cool and innovative. You will most likely find a 3D configurator on websites of the companies that strive for following the latest tech trends.”
Benefits of a 3D configurator
- Shows the full image of the product and allows looking at the model from any angle and perspective
- Allows interaction: zoom in and out, assemble and disassemble furniture, move the watch arrows, open and close the doors, pull out drawers, etc.
- Relatively lightweight: the content — models — can be stored on the server, allowing the configurator to load almost instantly
- Adding and removing content is fast: a change in an item configuration requires changing only the setting in question, without remodeling the entire item
- Possibility to add augmented reality for a more realistic product experience
Limitations of a 3D configurator
- For proper work, it requires a PC with average to high performance, depending on the configurator
- Some browsers may have issues with properly displaying 3D objects due to a different version of WebGL
- Difficult to get a photorealistic image due to technical limitations, so the 3D model will have a somewhat artificial look
- Integration to the client’s website is longer and more complicated for a 3D configurator comparing to other options
- A lengthy and complex process of creating models, including texturing and optimization
Use cases of a 3D configurator
3D configurators are preferable for industries where it’s important to give the customer a more exact and realistic experience of the product: furniture and home furnishings, sports equipment, shoes, etc.
Cost & resources for the 3D configurator development
Tools used: 3ds max (V-ray plugin), Photoshop, Unity
Approximate cost range: $1300-$2000 for the 3D configurator with 1 furniture item and the set of materials and configurations implemented in the demo version above. The cost includes the work of a 3D artist, designer, and software developer.
Approximate development time: Up to 2 weeks
2D configurator
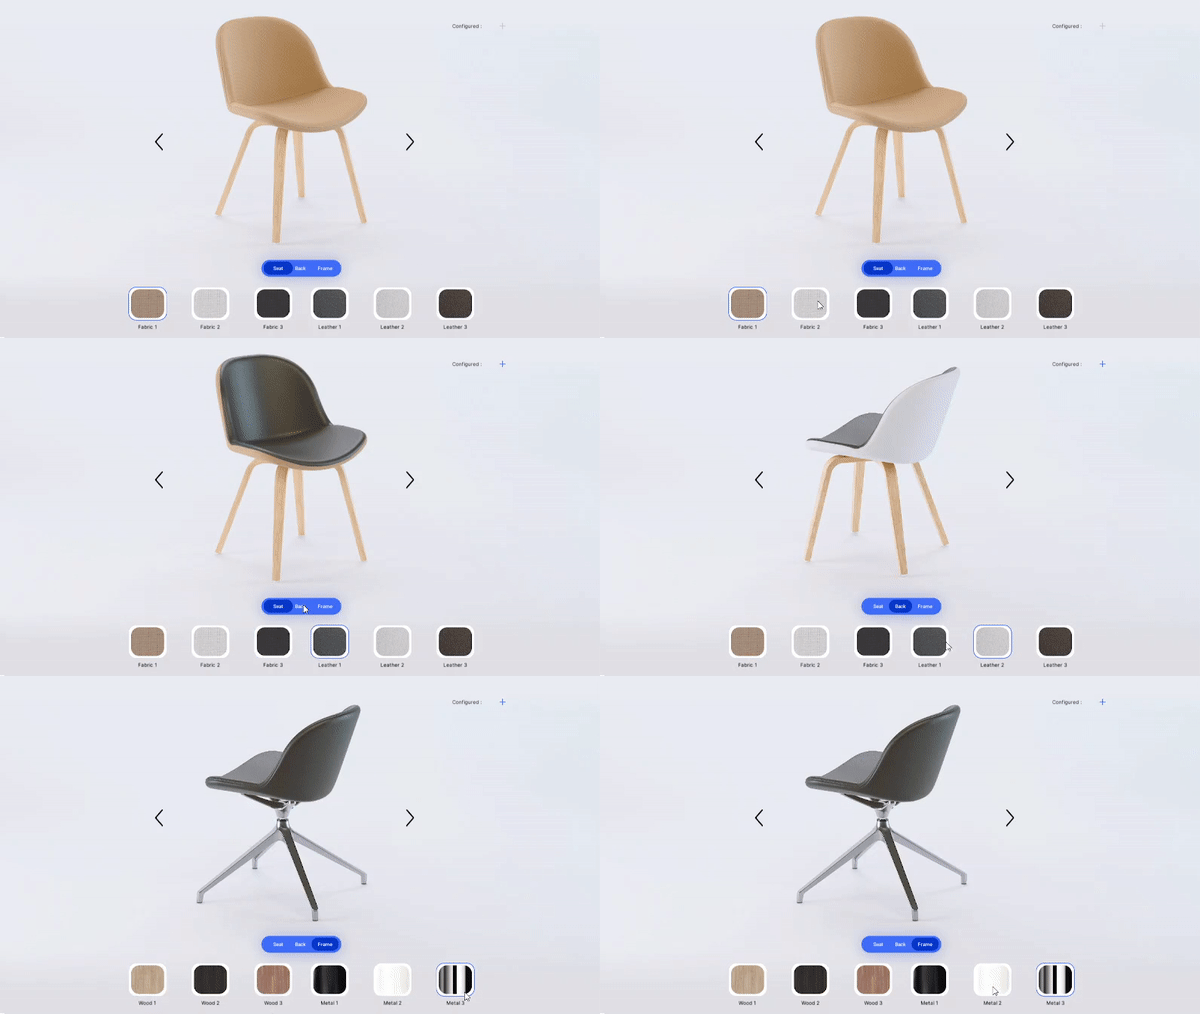
A 2D configurator uses a 2-dimensional render of a product model. The configured product remains static on the page, only changing the specific details: colors, components. The 2D configurator will show only the predefined view, angle, and perspective of the product, so a customer cannot rotate the product randomly.

Andriy, CG artist, team lead at Vakoms:
“To create a 2D configurator, we make renders of the products. First, a 3D model is created in Blender or 3ds Max, then we set the camera, lights, and other settings, and generate an image from the model using one of the plugins for rendering: V-ray or Corona. The resulting image is called render. Rendering allows for a more realistic view of the product, compared to a 3D model: more true-to-life shades, light, and textures.
A 2D configurator is the best choice for speed and performance: it will work properly on any platform and device.
This option ensures a more photorealistic picture of the product, but will not give a user that level of in-depth experience and interaction that a 3D model offers.”
Benefits of a 2D configurator
- Lightweight and doesn’t require a high-performance computer to properly display the product
- Photorealistic view: render allows for higher image quality compared to a 3D model which results in a more realistic image
- Cross-platform: the 2D configurator will work on any platform with no additional optimization
- Adding new content is fast: a change in an element doesn’t require reworking the whole render
- Easier to integrate to the client’s website compared to a 3D configurator
Limitations of a 2D configurator
- A 2D object is static and doesn’t allow adding interactive animations: opening and closing doors, disassembling and assembling, etc.
- 2D objects allow only predefined product views: it’s not possible to look at the object from a random angle or perspective
- Making a high-quality zoom of the object requires a higher resolution render that will make the object heavier, affecting the performance
- The 2D object is less interactive than a 3D model: a 2D configurator allows minimum animation like animated background or UI
Use cases of a 2D configurator
A 2D configurator is a good choice for pretty much any industry and product: cars, accessories, clothes, etc. Use it when you need a light and fast product configuration, working on any platform.
Tools & resources for the 2D configurator development
Tools used: 3ds max (V-ray plugin), Photoshop, Unity
Approximate cost range: $1200-$1800 for the 2D configurator with 1 furniture item and the set of materials and configurations implemented in the demo version above. The cost includes the work of a 3D artist, designer, and software developer.
Approximate development time: Up to 2 weeks
360° view configurator
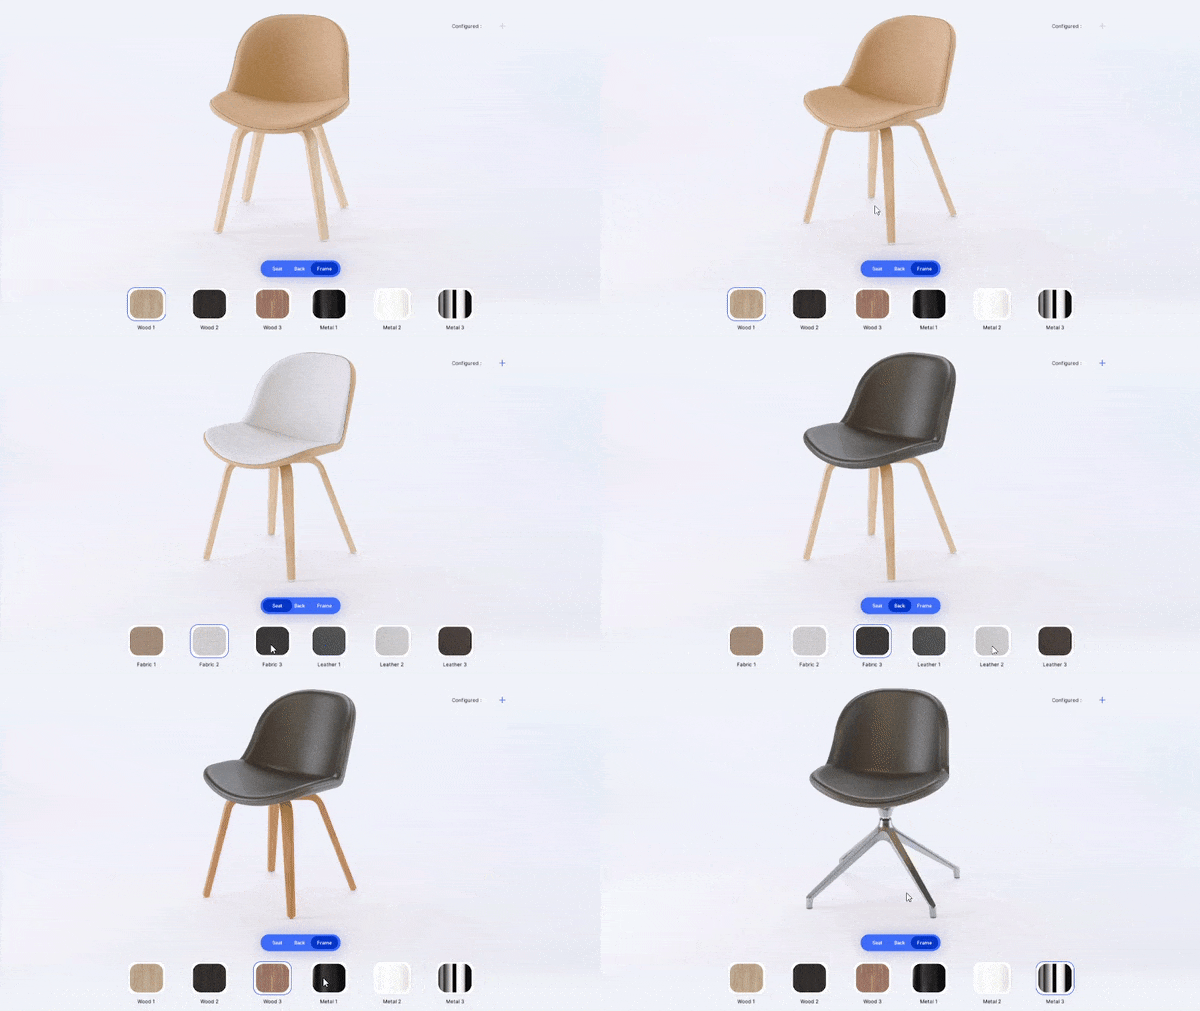
360° view shows the product from all sides along one axis. The sequence of images used in this type of configurator creates a feel of interaction with the product. Like the 2D configurator, the 360° product view doesn’t allow for arbitrary zooming in and out and looking at the product from a random angle — only a predefined perspective, but the 360° view allows for product rotation.

Andriy, CG artist, team lead at Vakoms:
“A 360° product view consists of a series of renders, demonstrating all sides of the product.
Imagine that you take photos from all angles around the object, place the images one after the other, and then scroll through all the frames. It creates a feeling of rotating the object and that’s exactly how a 360° product view works.
To create a 360° product view, we follow the same algorithm for creating renders but make several renders around the product model. The more renders we make the smoother the rotation will be. However, the overall size of the object will increase respectively.
The caveat of this type of configuration is a lengthy process of creating and modifying renders for every possible product customization.
Say, if we need to create a watch configurator with customizable dials and straps, we will need to render the required number of frames with every possible combination of these parameters. This is quite time-consuming.”
Benefits of a 360° view configurator
- High-quality photorealistic image of the product
- Rotating the object in the predefined axis, which allows for a more realistic product experience
- Cross-platform availability: a 360° product view will work properly on all platforms and devices
- Faster design process: there’s no need to create low-poly models and draw the high-quality textures. The 360° view doesn’t use the model itself but its render
Limitations of a 360° view configurator
- It’s not possible to add animations of disassembling, opening and closing doors, moving the watch arrows
- The 360° product view is quite heavy and takes a significant amount of storage, which affects the configurator’s performance
- You cannot view the product from any angle or perspective
- Good zooming requires high-resolution renders, which can also contribute to the performance difficulties
- A smooth rotation requires more frames, which increases the configurator’s size
- Adding new content is quite time-consuming compared to a 3D model: the 3D artist will need to modify all views for the chosen product
Use cases of a 360° view configurator
360° product view is a kind of compromise between a simpler 2D configurator and a more complex and dynamic 3D option. It can be used for watches, accessories, jewelry, shoes, etc.
Tools & resources for the 360° view configurator development
Tools used: 3ds max (V-ray plugin), Photoshop, Unity
Approximate cost range: $1500-$2200 for the 360° view configurator with 1 furniture item and the set of materials and configurations implemented in the demo version above. The cost includes the work of 3D artist, designer, and software developer.
Approximate development time: Up to 3 weeks
Conclusion
To sum up, here’s a comparative table that illustrates the benefits and limitations of each configurator.

As you see, a 2D configurator has the biggest number of benefits making this option the best solution for pretty much any product and industry. Still, remember that it has some limitations.
Here’s a quick tip on what option is best for what purpose:
- 3D — for numerous product variations and customization options
- 2D — for basic product configuration and high performance on any platform
- 360° view — for photorealistic image and full picture of the product
If you have any questions or doubts about what to choose for your product, ask our specialist.


